Connect to a tunnel
Follow these steps to connect to a GuardLlama tunnel using the official WireGuard client.
Creating a tunnel
- Navigate to the "Tunnels" section and click "Create Tunnel".

- Wait for the tunnel to be ready. The tunnel status will appear green when it's complete.
Obtaining connection configuration
Choose one of the following methods to obtain WireGuard connection configuration:
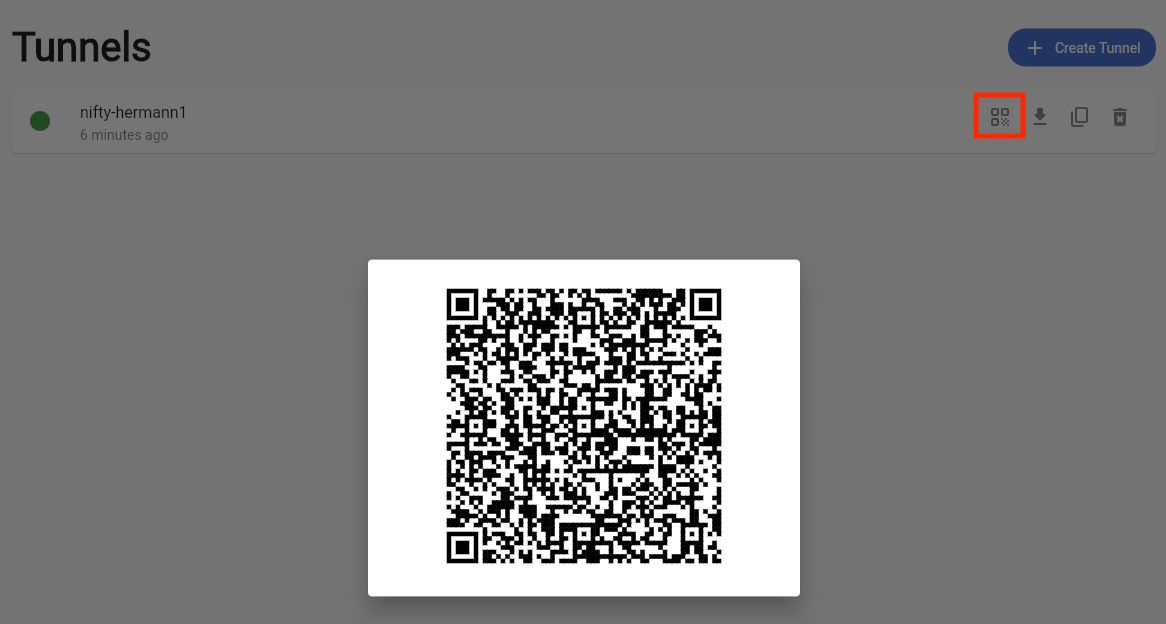
- QR Code: Display the tunnel's QR code and scan it using a WireGuard mobile client.

- Download Configuration: Download the WireGuard configuration file to use on your local machine.

- Copy Configuration: Copy the WireGuard configuration to your clipboard.

Install the WireGuard Client
Download the official WireGuard client. WireGuard VPN clients are available for over 30 platforms. In this example, we will use WireGuard for macOS.
Configure the WireGuard Client
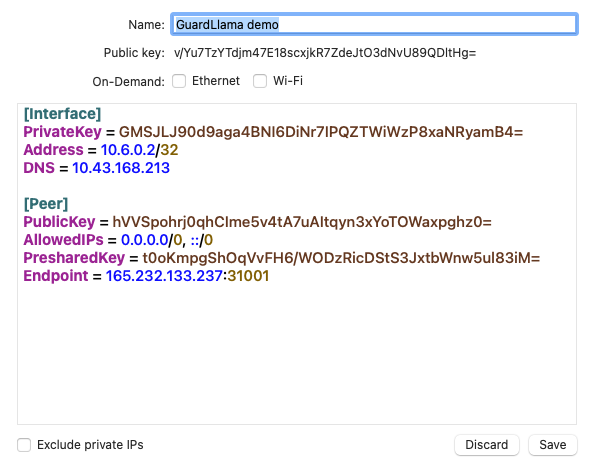
After installing WireGuard, open the client and add an empty tunnel.
Paste the config that you obtained into the new tunnel

- Click "Activate" to connect to your GuardLlama tunnel. You're all set!
Validate Your Connection
To ensure your internet connection is secure and fast, perform the following validations:
- Visit https://ipinfo.io to confirm that your location matches the server's location.
- Go to https://www.dnsleaktest.com and check that the server's IP is the only one resolving DNS queries.
- Test ad-blocking capabilities at https://d3ward.github.io/toolz/adblock.html. With your browser's ad-blocker turned off, the test should show that approximately 90% of ads are blocked.
- Check your internet speed at https://fast.com. The speed may vary depending on your location and VPS specifications, but it should be reasonably fast.
Once you have successfully connected and validated your GuardLlama tunnel, you can enjoy a secure, fast, and private internet experience.